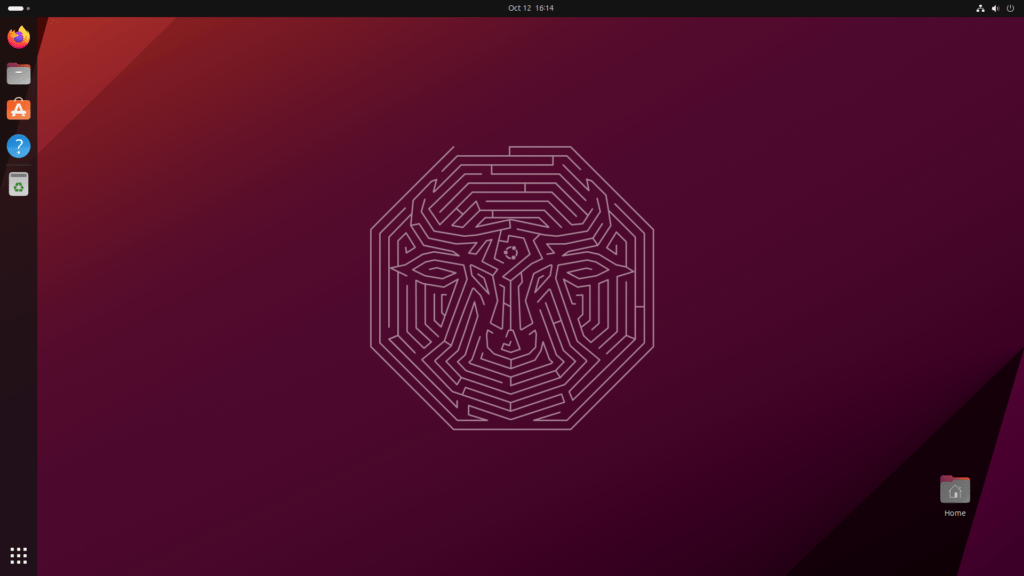
Here is a basic guide on how to install Linux Ubuntu on your PC:

Before starting, it is important to take a backup of your data to avoid accidental loss and make sure you have a stable internet connection to download the Ubuntu ISO image.
1. Download the Ubuntu ISO image:
Visit the official Ubuntu website and download the latest stable version of the operating system in ISO format.
2. Prepare a bootable USB stick:
Use a tool like Rufus or BalenaEtcher to create a bootable USB stick with the Ubuntu ISO image.
3. Boot the computer from the USB stick:
Insert the USB stick into the PC and reboot. Make sure your BIOS is configured to boot from USB. If necessary, consult your computer’s manual for specific instructions.
4. Starting the live system:
At boot, select “Try Ubuntu without installing” to access a live session and verify that the system works correctly with your hardware.
5. Start the installation:
After checking your system, double-click the “Install Ubuntu” icon on your desktop. Follow the guided instructions.
6. Configuring the language and keyboard layout:
Select your language and keyboard layout.
7. Choice of installation:
Choose whether to install Ubuntu alongside the existing operating system or replace it completely. You can also do advanced customization.
8. Disk Partitioning:
Configure partitions. If you are not an expert, you can choose the “Install Ubuntu alongside other operating systems” option.
9. Setting up a user account:
Enter your name, a username, and a password for your account.
10. Complete the installation:
Let the installer complete the process. Once done, restart your computer without the USB stick.
11. Update and install drivers:
After installation, perform system updates and install any additional drivers you need.
You should now have a working Ubuntu system on your PC. Happy exploring the open-source world!

